This is one of the first recipes I found online and just made it my own. I don't remember exactly when I found it, but it was probably around Christmas, 1998. Wow, 14 years ago! I have made this exact recipe countless times since then. I haven't seen a need to tweak it, so here it is:
http://www.cookingcache.com/dessert/sugarcookies4.shtml?rdid=rc1
Whoever Martha F. is, I've been very, very happy she submitted this recipe.
Back in 1998 (when I was 20, and had nowhere near as nice of a kitchen as I have now), I needed recipes that were as simple as possible. I chose this recipe off this website because the other sugar cookie recipes called for buttermilk, or sour cream, or even cream of tartar (which I never had at the time). Since I moved out on my own, and actually since I was a kid, I have gravitated toward recipes that allow me to use what I already have, instead of necessitating a special trip to the grocery store. I'm not usually patient enough to wait that long. This recipe seemed simple enough to me, so I went with it.
I'm trying a different spin on it this time, though. In the past, I've just rolled it out and then added frosting and/or sprinkles. This time, I'm splitting it up, dyeing the dough, and rolling it up to create cookies you can slice and bake.
As usual, get all your ingredients and equipment together. Then, put your butter and sugar into the mixing bowl and get it going. As it mixes, add the eggs and vanilla:

While they are mixing, get your dry ingredients together:

Then, add your dry mixture slowly (about 1/4-1/2 cup at a time). It should be fairly thick by the time you're done.

Now, separate half the cookie dough into a bowl.

Add a 1/4 tsp of gel food coloring (or as many drops of liquid food colors as necessary) and stir it with a fork. If any of the colors you will be making are red, do that color in the separated bowl. I just find it's easier to get most other colors out of equipment. Red is harder, for some reason.

I mixed the green in the bowl. Scoop the green into a smaller bowl. Cover both bowls (I like aluminum foil) and refrigerate for at least 30 minutes.

Remove the bowls from the fridge and uncover. You can see I made a lot less red than green here. No particular reason, I was in a big hurry, as I usually am, so I didn't split the dough evenly in half. No big deal, I will just use the leftover green for something else. If you did the same thing, just make sure that both dough balls you're working with for this project are essentially the same size.

Flour a cutting board (or wherever you plan to roll out the dough), and get your rolling pin ready.

Roll out your dough. Aim for a rectangle shape, and try to get the dough about 1/3" thick.

If you're finding that it's getting oddly-shaped, just fold over edges and flatten them out again until you have an approximate rectangle shape. Carefully (and I do mean carefully, this is not easy) transfer this to a plate, or use another cutting board for the green. Roll out the green dough in the same way, then layer one on top of the other.

Roll them together along the long side. Once you've finished rolling it up, press the "seam" over so that it's less likely to come undone. Wrap up (I just used leftover foil from the bowls) and refrigerate for at least 30 minutes, but longer is probably a better idea if you can.

Unwrap the dough and put it back on the floured board. Using a sharp knife, cut slices of the dough no more than 1/2" thick.

The dough will warm up quickly, particularly if you only refrigerated it for 30 minutes. So slice the roll quickly and separate the slices from each other.

Place them onto a greased cookie sheet. Bake at 375 for about 10-12 minutes. Substitution: I mostly use Pampered Chef stoneware to bake. It takes longer to heat, so it takes longer to bake. This recipe says 6-8 minutes to bake, and even when I use a metal cookie sheet, it still takes longer. This batch took 14 minutes, but it shouldn't take you as long if you're using metal. Once you get a feel for your oven and your bakeware and making cookies in general, you'll have a good idea how long it takes to bake them.

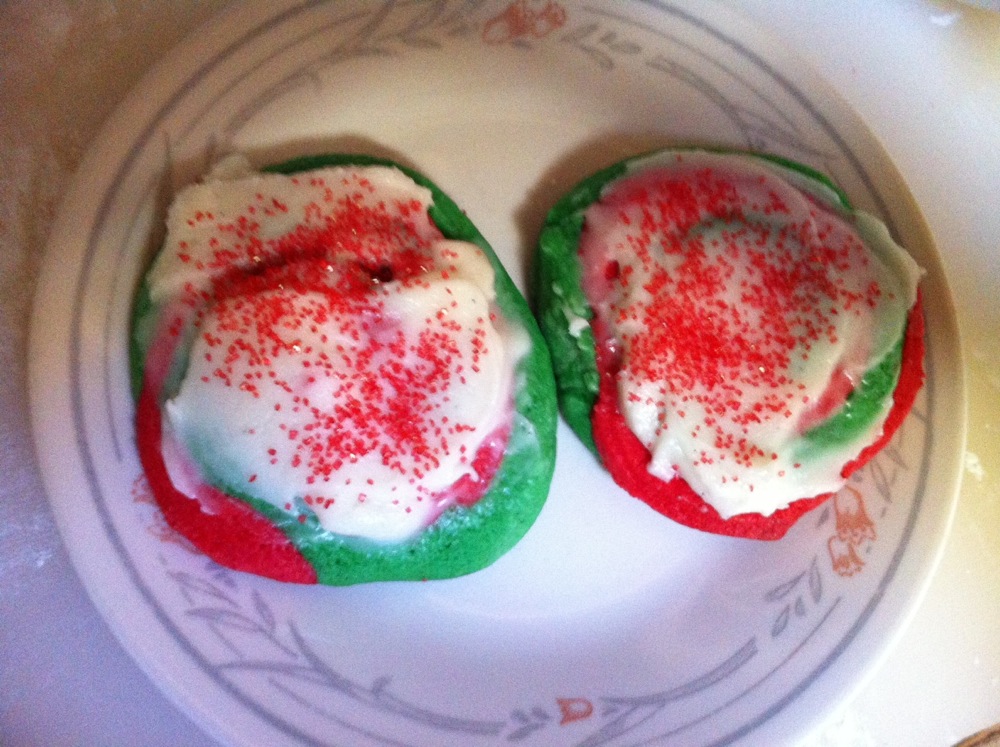
They're done! Don't they look yummy?

If you want to frost them, I can recommend my own cream cheese frosting. I have never used the frosting recipe on the recipe page because I don't trust raw egg whites. Today, I'm just using frosting I had from last week, so I won't have pics, but here's my easy recipe at the bottom of the page.
Easy Vanilla Bean Cream Cheese Frosting
1 stick (1/2 cup) butter
8 oz cream cheese
1 32 oz package powdered sugar (7-8 cups)
1 tsp vanilla or 2 tsp vanilla bean paste (the paste adds those beautiful vanilla bean flecks)
Milk or cream as necessary
Soften the butter and cream cheese. DO NOT MELT. You want it soft enough that the mixer can beat them together smoothly, but firm enough that the frosting doesn't take on a ganache quality. Mix them together until smooth and fluffy. Add the vanilla bean paste or vanilla. Slowly add the powdered sugar, one cup at a time for the first half, then 1/4-1/2 cup. Add the powdered sugar until the frosting stops absorbing it. Scoop into a bowl and refrigerate for at least two hours. To soften for spreading, mix again in the mixer and add milk or cream as necessary for consistency.
No comments:
Post a Comment